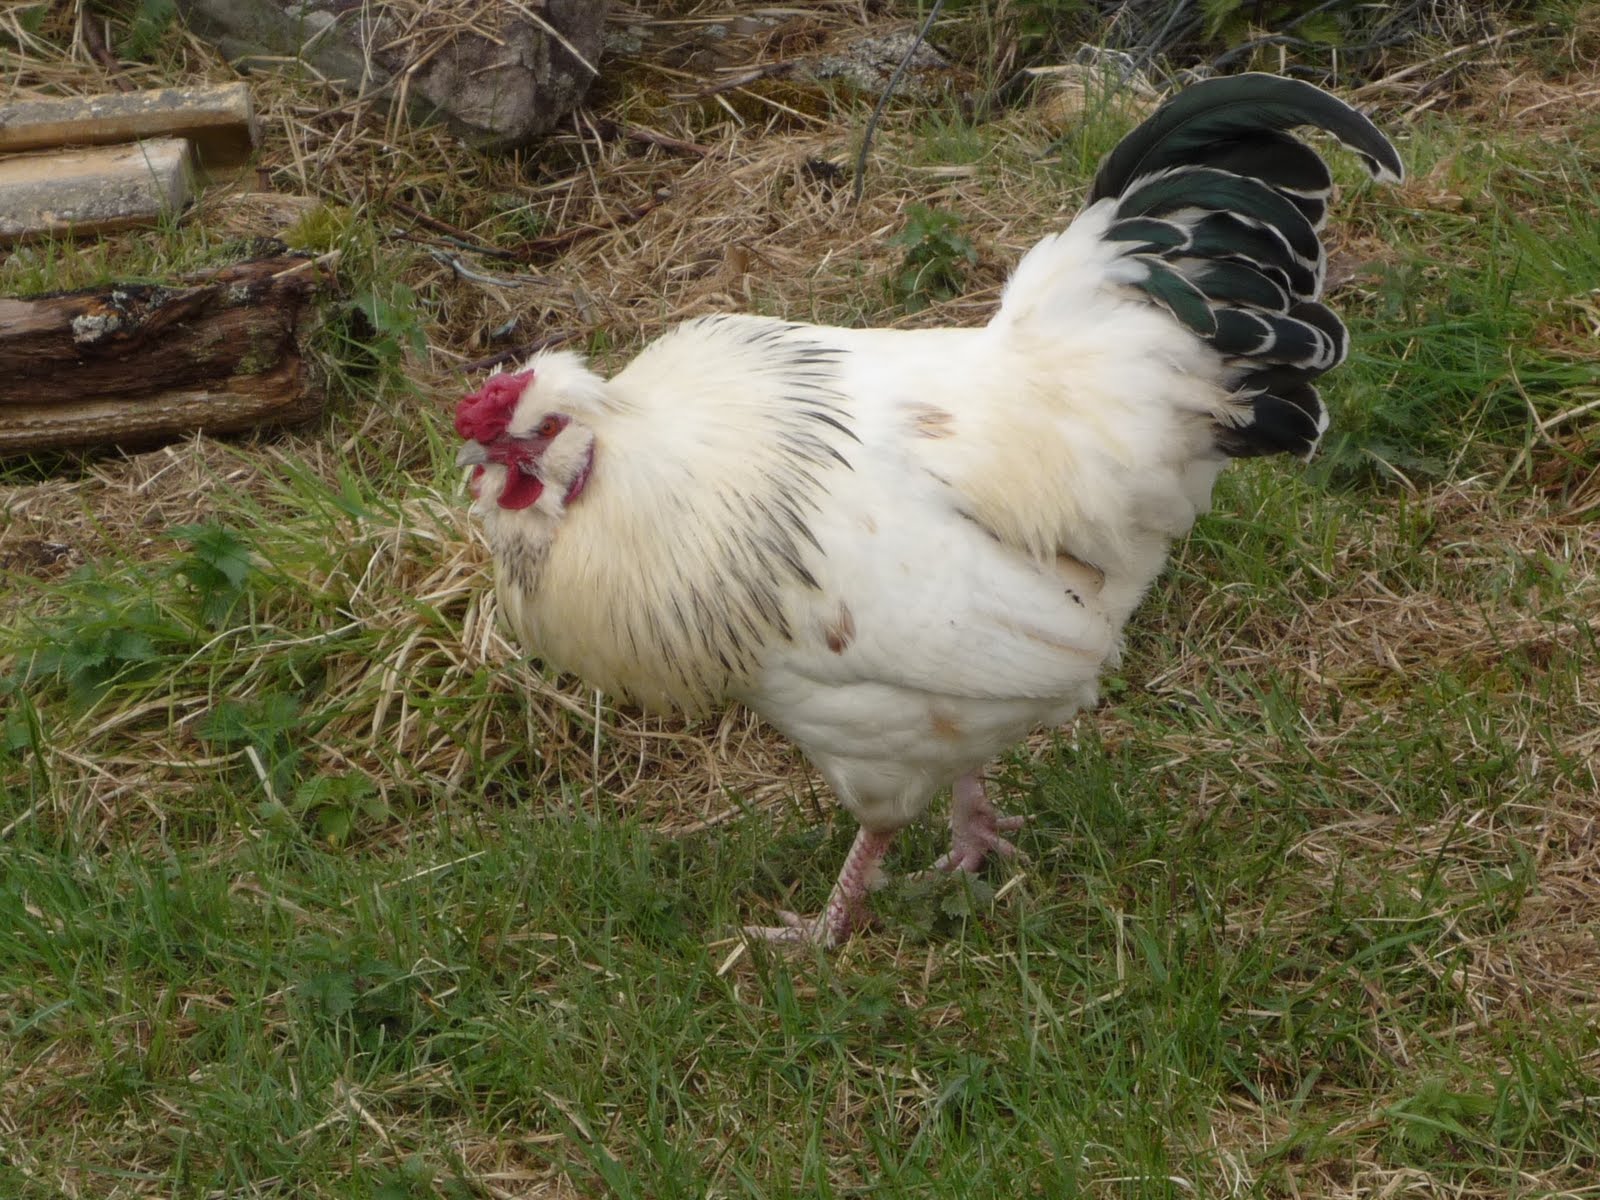
Earlier this year we were given a chick that hatched out of a light sussex egg. Clearly not a light sussex by any breed standard the chick was useless to the owner and found a new home in our garage. He soon turned out to be a boy with massive feet and some rather quirky behaviour.
We never really took any pictures as he was meant to end up on our table. Nick named pancake by his previous owner he was soon named richard pancake, richie for short.
Richie is afraid of other chickens. He will peck on small chicks to get to his food but as they grow older he gets more and more frightened. He loves a stroke on his head when he is in a good mood but hates being picked up and screams for Scotland if you even so much as try.
Richie walks funnily although he is perfectly healthy and sleeps with his head on the floor like a dog. He hasn't worked out to take shelter when it rains and he just sleeps anywhere in the garden. He will have to move back inside in the winter if he doesn't learn to go to bed as he will freeze to the ground otherwise....
Saturday, July 24, 2010
Wednesday, July 21, 2010
Chicken update
Stevie did a great job protecting his flock of laying hens but recently decided to start attacking people. When he scratched the face of one of our volunteers it was time for him to make a lovely dinner for us. He had a lot of exercise in his life and his legs were a bit tough but otherwise he tasted just fine.
Before he departed Stevie fathered plenty of chicks.
They were incubated and grew up indoors.
When the weather got warmer they all moved outside.
They now free range in the garden and will soon be moving down to the project.
Before he departed Stevie fathered plenty of chicks.
They were incubated and grew up indoors.
When the weather got warmer they all moved outside.
They now free range in the garden and will soon be moving down to the project.
Monday, July 05, 2010
Willow tree
Earlier this year I was given two stumps of willow by our neighbour. Rammed them into the ground and although I didn't hold much hope they are doing well.
April 2010
June 2010:
April 2010
June 2010:
Tuesday, June 22, 2010
Finally - water in sight
After much searching we finally located somebody who sells second hand IBC's locally. We picked one up and now have to decide where to put it and how to connect it. It holds 1000L and as soon as it's placed we can start filling it with tap water from the house until it's connected to the rainwater system.
Not sure if I want to put it underground or else how to hide it, as I really don't like the sight of it. Also the water will turn green if it stays out in the sun. Decisions...decisions....
Wednesday, June 16, 2010
First outside chick of the year
Finally our broodies have managed to hatch a chick.
After climbing all over his mummies he was allowed out today for the first time.
It's a big wide world.
Two mommies....aren't I special ??
(Shhhh, don't tell any of the three that they aren't even related. The egg came from our group of laying hens.)
After climbing all over his mummies he was allowed out today for the first time.
It's a big wide world.
Two mommies....aren't I special ??
(Shhhh, don't tell any of the three that they aren't even related. The egg came from our group of laying hens.)
Monday, June 14, 2010
Rearing pens
We have chicks everywhere and are running out of space to house them. Thankfully we have some pallets that are lightweight and not much use for anything else.
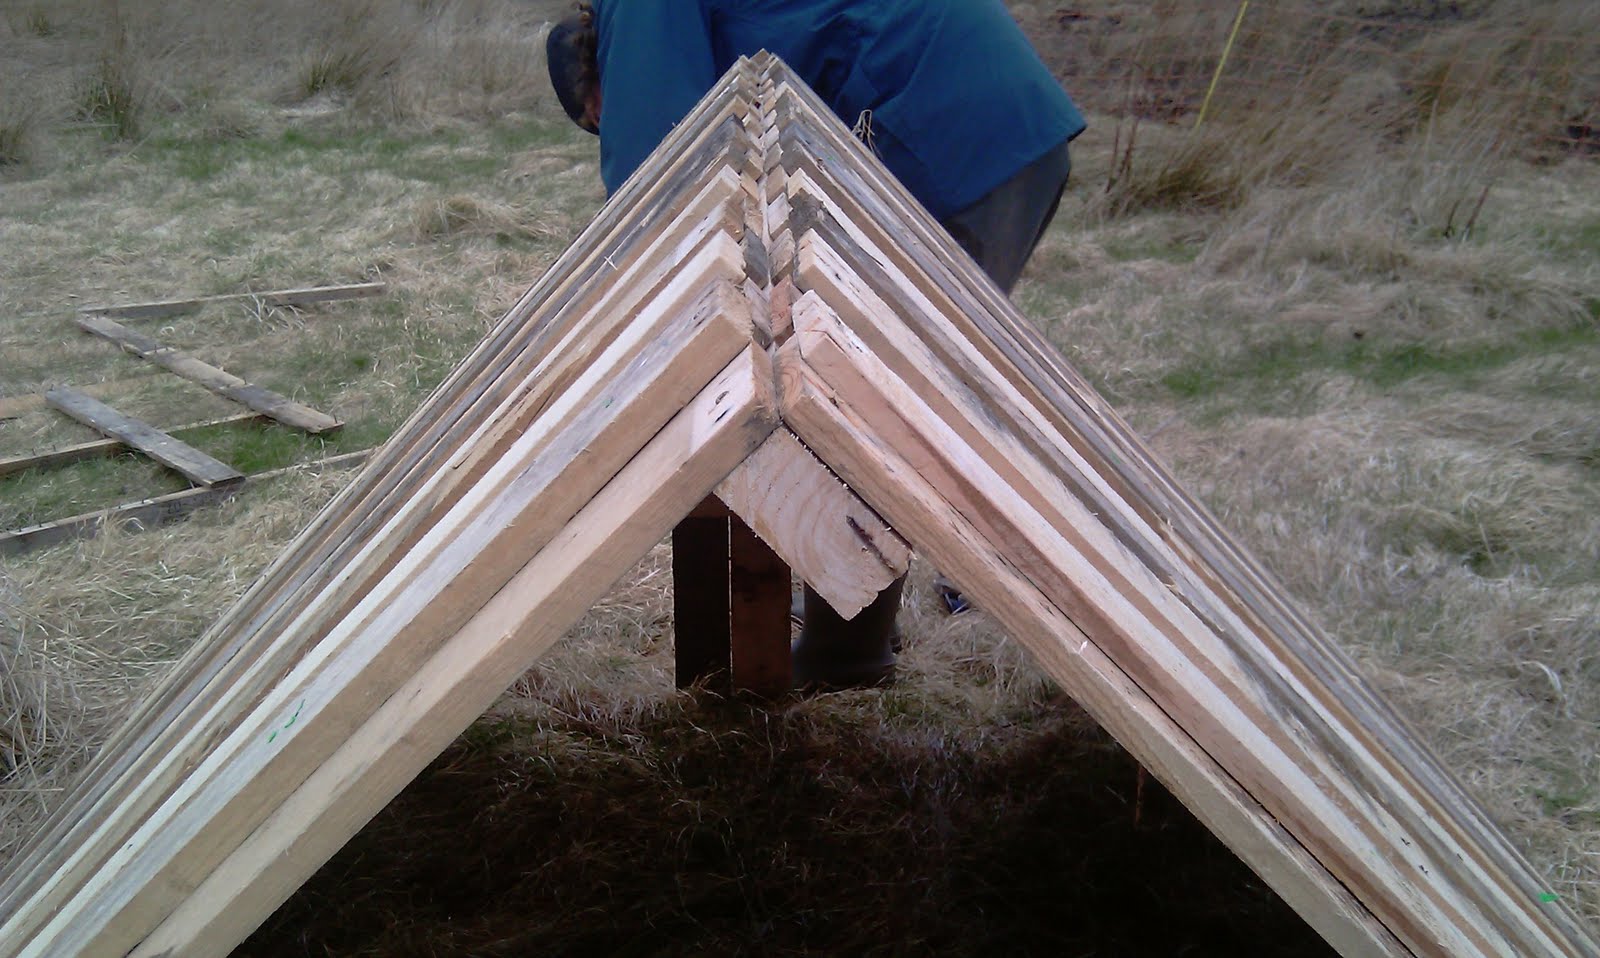
The pallets are put together like a tent. Two strips of timber are nailed to the bottom to determine width, then the top is simply screwed together.
After that screws are added to the bottom of the pallets to hold the netting in place.
The netting (fruit cage netting) is stretched over all sides and held in place with screws. Nails would do the same job.
A branch adds some interest to the rearing pen. Job done. Note that an extra piece of timber at the back keeps the sawdust inside the sleeping box.
The chicks are happy in their temporary runs.
The pallets are put together like a tent. Two strips of timber are nailed to the bottom to determine width, then the top is simply screwed together.
After that screws are added to the bottom of the pallets to hold the netting in place.
The netting (fruit cage netting) is stretched over all sides and held in place with screws. Nails would do the same job.
A branch adds some interest to the rearing pen. Job done. Note that an extra piece of timber at the back keeps the sawdust inside the sleeping box.
The chicks are happy in their temporary runs.
Saturday, June 12, 2010
Piglets
Our weaners have arrived. Hans (coloured) and Ulla (black) came up from Brora and are both birth registered. They are 8 weeks old and although they are friendly enough they are a tiny bit vary of people.
Gretel came from Stoke-on-Trent and at 3 month old she is bigger than Hans and Ulla. Gretel is the most relaxed piglet you can think of. She doesn't mind being touched at all and has a very laid back character.
Wednesday, June 02, 2010
More pig arcs
I have been away for a couple of weeks and on my return we are busier than ever. We have two piglets arriving this weekend and another one hopefully the weekend after.
More pallets have been taken apart by Dawn (helpx) and Ann (host) and I am building another pig arc from the materials for the weaners.
Friday, May 14, 2010
What else has happened ?
There has been plenty of other things going on in the background.
After putting up the rearing shed and moving the laying hens into a 6th of the space we ended up with a mud puddle. Chris (family) spared some of his precious time away from his beloved xbox and made a gravel path.
The pigs have been busy producing fertiliser. Loads of it.
After separating Doris and Boris I spent some time collecting all their droppings and adding it to the compost.
I also planted 25 alder trees that Nancy (helpx) was going to plant but left abandoned.
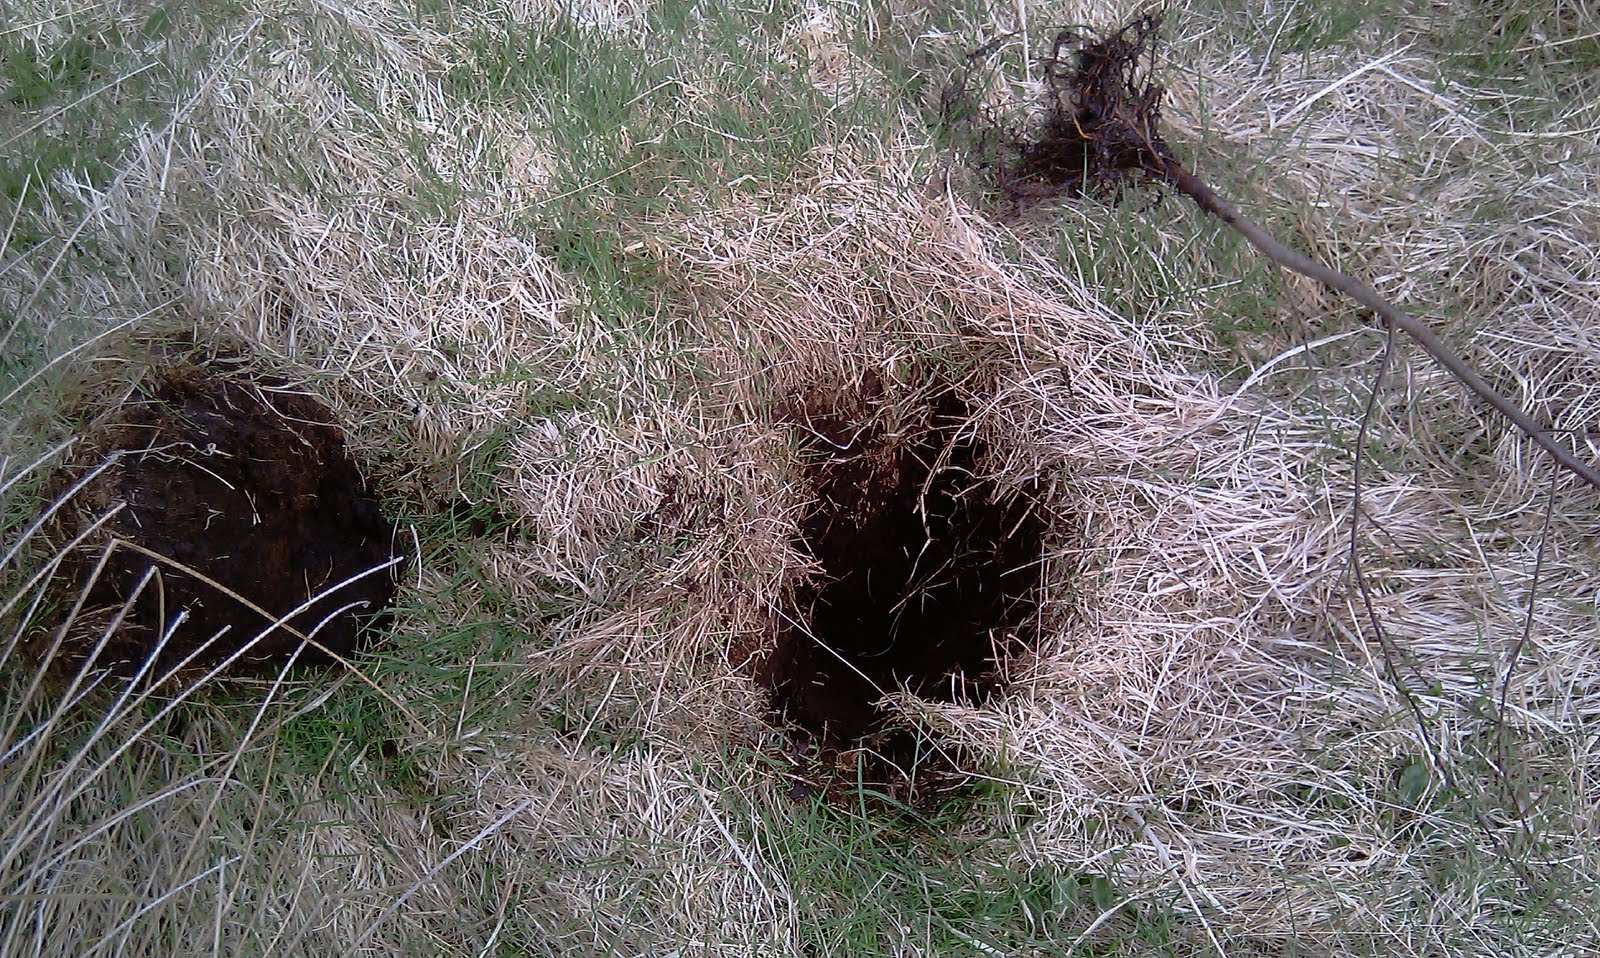
First I dug a whole large enough for the roots to fit in and about 30cm deep.
Then I put the tree inside the hole and filled it with soil. Simples ;-)
Just need to add a mulching mat now to keep the grass from growing. Some of the trees had started to wilt but hopefully they will all recover.
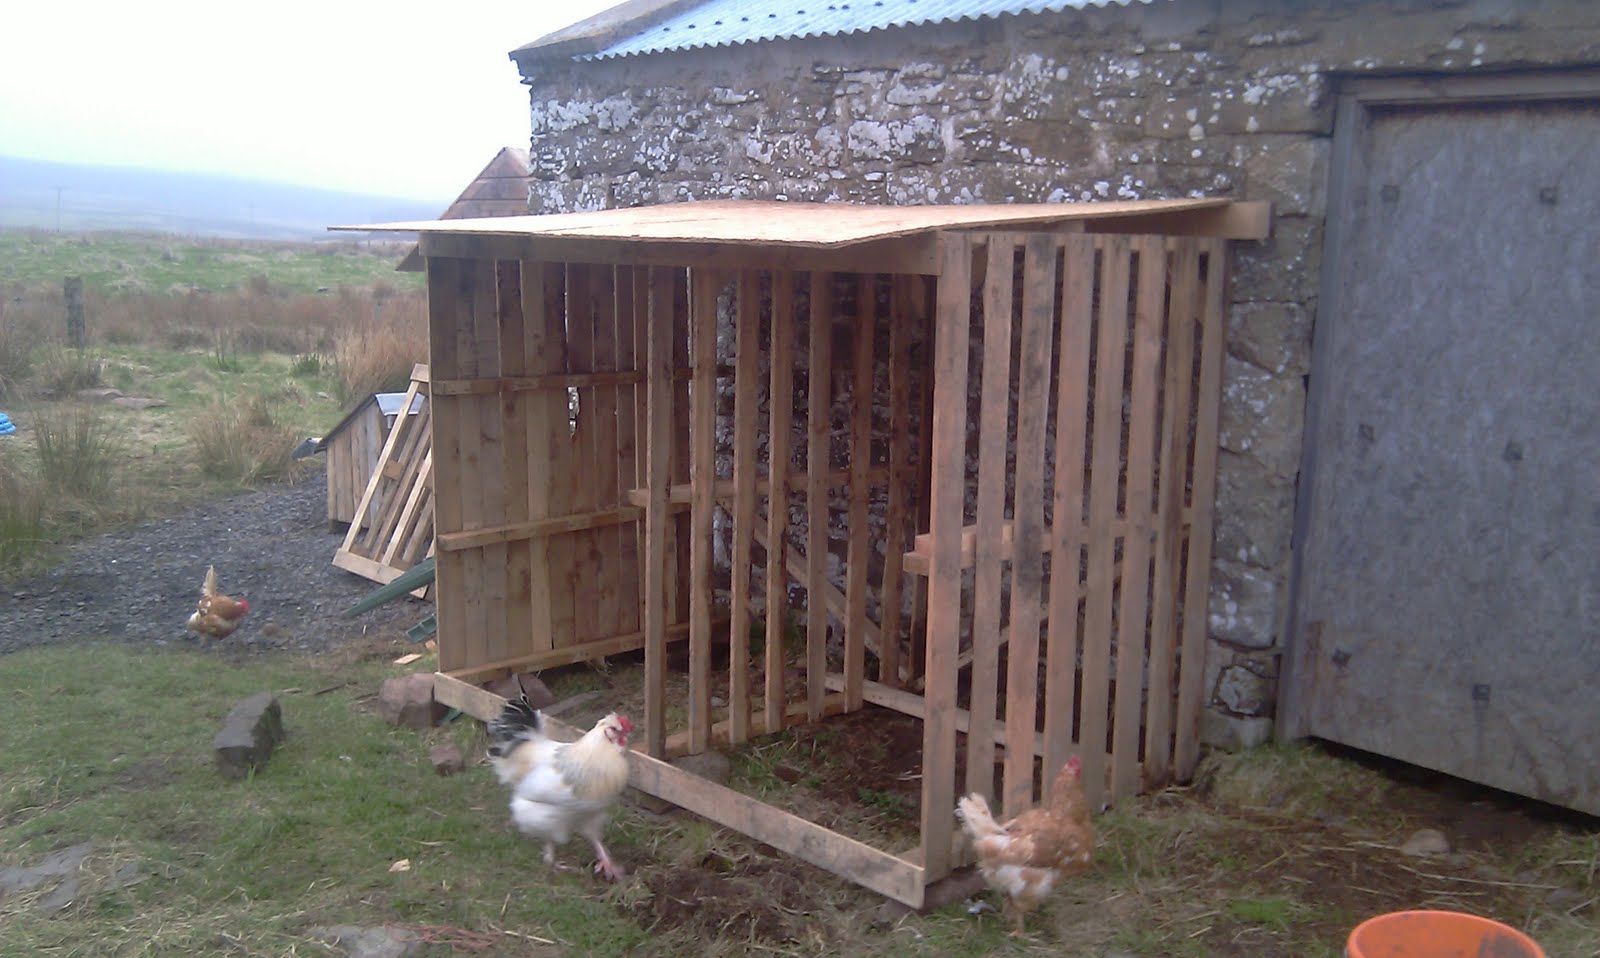
Whilst there was no volunteers at the project I started building an outdoor wood store. First I took the bottom off three pallets.
Then I filled the gaps on one of them to use on the weather side to keep the rain out.
Then I stood the three pallets up, braced them together and added a roof.
Chickens love it and are using it as a shelter. With a bit of roofing felt it will make a good outdoor store.
After putting up the rearing shed and moving the laying hens into a 6th of the space we ended up with a mud puddle. Chris (family) spared some of his precious time away from his beloved xbox and made a gravel path.
The pigs have been busy producing fertiliser. Loads of it.
After separating Doris and Boris I spent some time collecting all their droppings and adding it to the compost.
I also planted 25 alder trees that Nancy (helpx) was going to plant but left abandoned.
First I dug a whole large enough for the roots to fit in and about 30cm deep.
Then I put the tree inside the hole and filled it with soil. Simples ;-)
Just need to add a mulching mat now to keep the grass from growing. Some of the trees had started to wilt but hopefully they will all recover.
Whilst there was no volunteers at the project I started building an outdoor wood store. First I took the bottom off three pallets.
Then I filled the gaps on one of them to use on the weather side to keep the rain out.
Then I stood the three pallets up, braced them together and added a roof.
Chickens love it and are using it as a shelter. With a bit of roofing felt it will make a good outdoor store.
Saturday, May 08, 2010
Building a Pig Ark
The pigs, now named Doris and Boris, have had their quibbles but recently Boris has been bullying Doris and not leaving her in peace at all. Separation seems to be the answer which means building a pig ark for Doris.
Andy (helpX) quickly gets to work, taking pallets apart. until there is nothing left of it.
Broken bits are discarded for now and the cross bars are freed of nails.
The pile of timber is graded into thickness and the remaining nails taken out.
We end up with a nice neat pile of timber, so let's get to work.
First the timber is nailed back onto the cross bars, but this time evenly spaced out. One of the cross bars sits neatly in the gap whilst the timber is nailed on, then moves to the next gap...
Quickly enough a new structure is made that looks like a neat version of a pallet.
To make it all waterproof another layer of timber is nailed over the gaps.
After making two of those overlapping boards they are screwed together at a 90 degree angle to form a triangular pig ark.
The front needs a door and the back filling in completely.
First Andy (helpx) thinks about the how and why.
Then Chris tries his hand at measuring, marking and sawing...
Getting there... just a few more and the back will be finished.
The next day Chris (family) fills in the front. Doris will be thankful to him as she had to move in swiftly last night.
Chris does a rather good job and the ark looks brilliant. Doris agrees and after inspecting the new door she goes for a snooze around the back.
Andy (helpX) quickly gets to work, taking pallets apart. until there is nothing left of it.
Broken bits are discarded for now and the cross bars are freed of nails.
The pile of timber is graded into thickness and the remaining nails taken out.
We end up with a nice neat pile of timber, so let's get to work.
First the timber is nailed back onto the cross bars, but this time evenly spaced out. One of the cross bars sits neatly in the gap whilst the timber is nailed on, then moves to the next gap...
Quickly enough a new structure is made that looks like a neat version of a pallet.
To make it all waterproof another layer of timber is nailed over the gaps.
After making two of those overlapping boards they are screwed together at a 90 degree angle to form a triangular pig ark.
The front needs a door and the back filling in completely.
First Andy (helpx) thinks about the how and why.
Then Chris tries his hand at measuring, marking and sawing...
Getting there... just a few more and the back will be finished.
The next day Chris (family) fills in the front. Doris will be thankful to him as she had to move in swiftly last night.
Chris does a rather good job and the ark looks brilliant. Doris agrees and after inspecting the new door she goes for a snooze around the back.
Wednesday, April 28, 2010
Putting up the rearing shed
As the chicks are growing and need to go outside soon we need to put up the rearing shed.
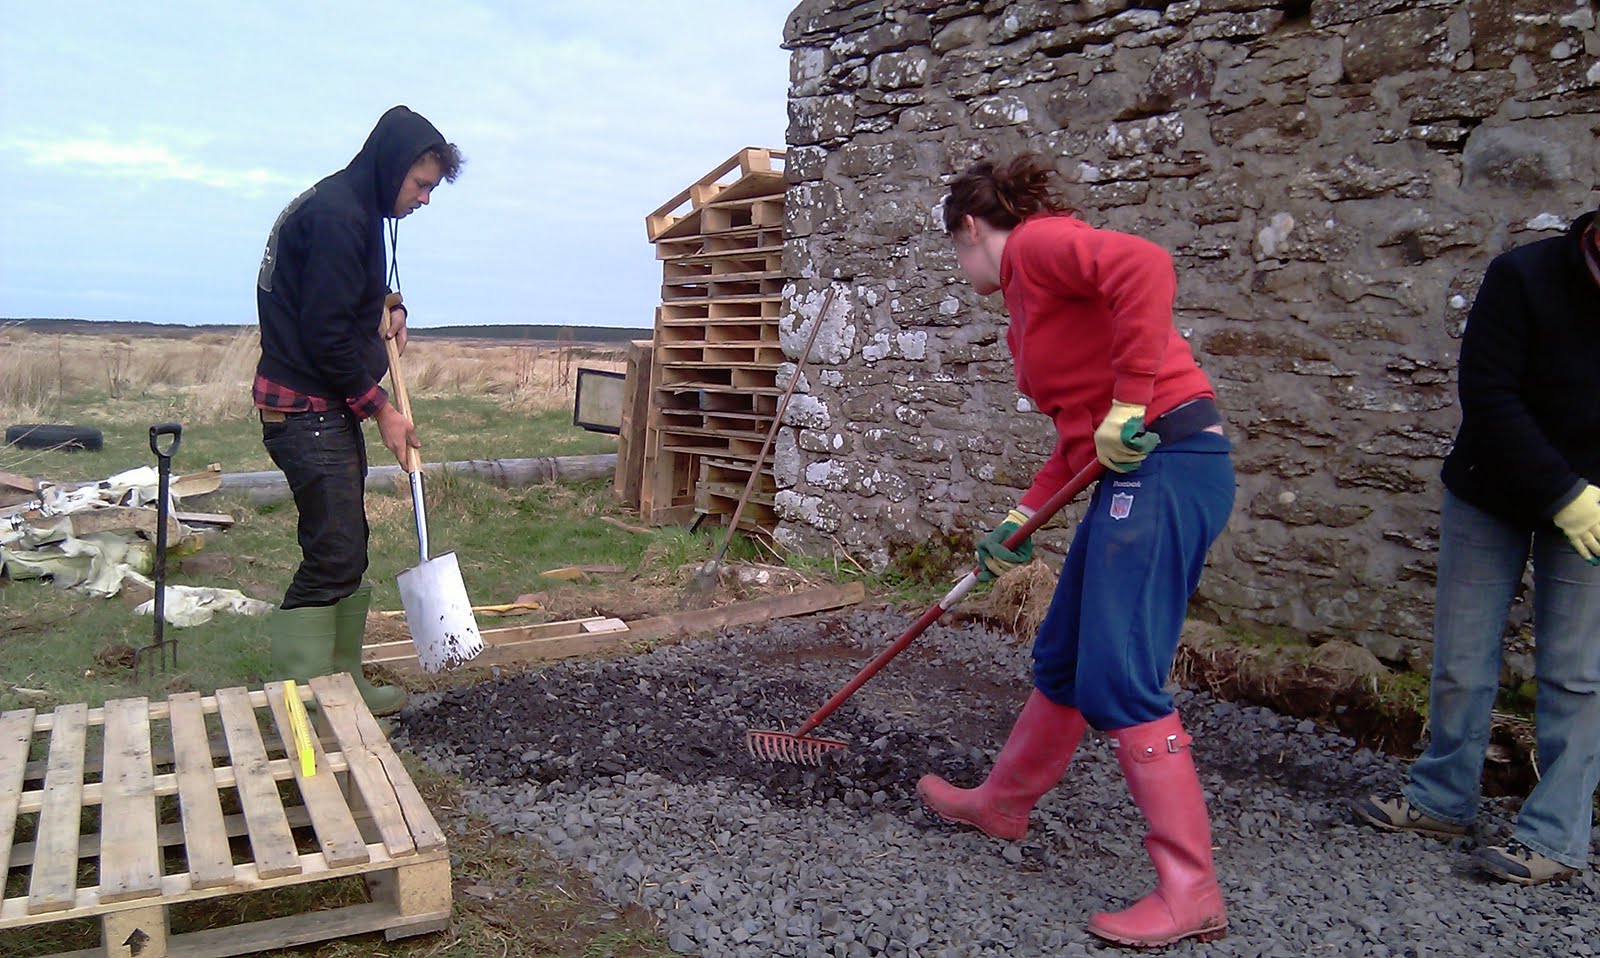
Matt (HelpX) and Vicki (family) are preparing a gravel foundation for the base.
Chris (family) is bringing gravel with a trailer and quad from the front of the drive, whenever he manages to draw his attention away from his sweaty feet.
Ann (host) is supervising. Somebody has to stand around and look important.
No, it's not level...hang on, it's not on the gravel...that might be why it's not level.
I think we will put it here. Then it may be level.

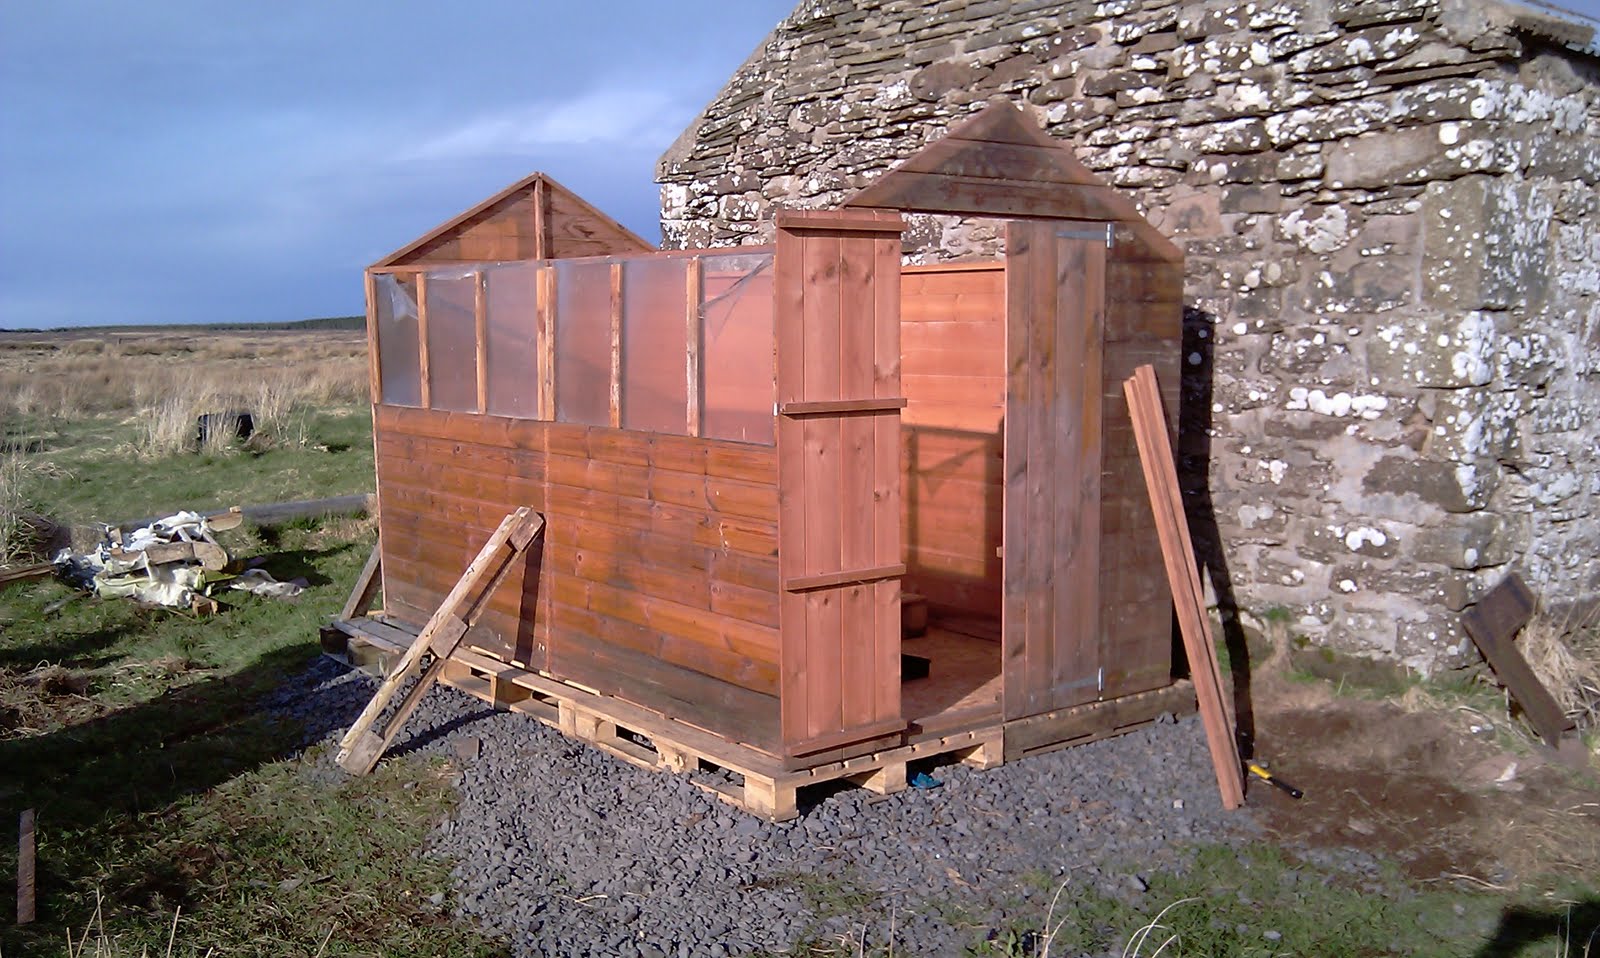
After a lot more raking and measuring the six pallets for the base are placed on the gravel and the floor of the shed is screwed into place.
As the first wall piece is going up the lovely Caithness weather turns and it starts to get windy.
Matt is playing peek-a-boo but Arden is not impressed.
The winds is rattling the panels and windows about. After a few improvements to the windows there isn't anything else we can do. Lifting roof panels in 50mph gusts is a fairly impossible and rather dangerous undertaking.
After bracing all the walls and the side we have to abandon the job until the weather improves.

It's been a week since we put the shed walls up and the weather has been fine. Today it's windy again but we have decided to work on the shed anyway.
We have added a new cross beam to rest the roof on. It's stronger than the original one which got lost in transit...
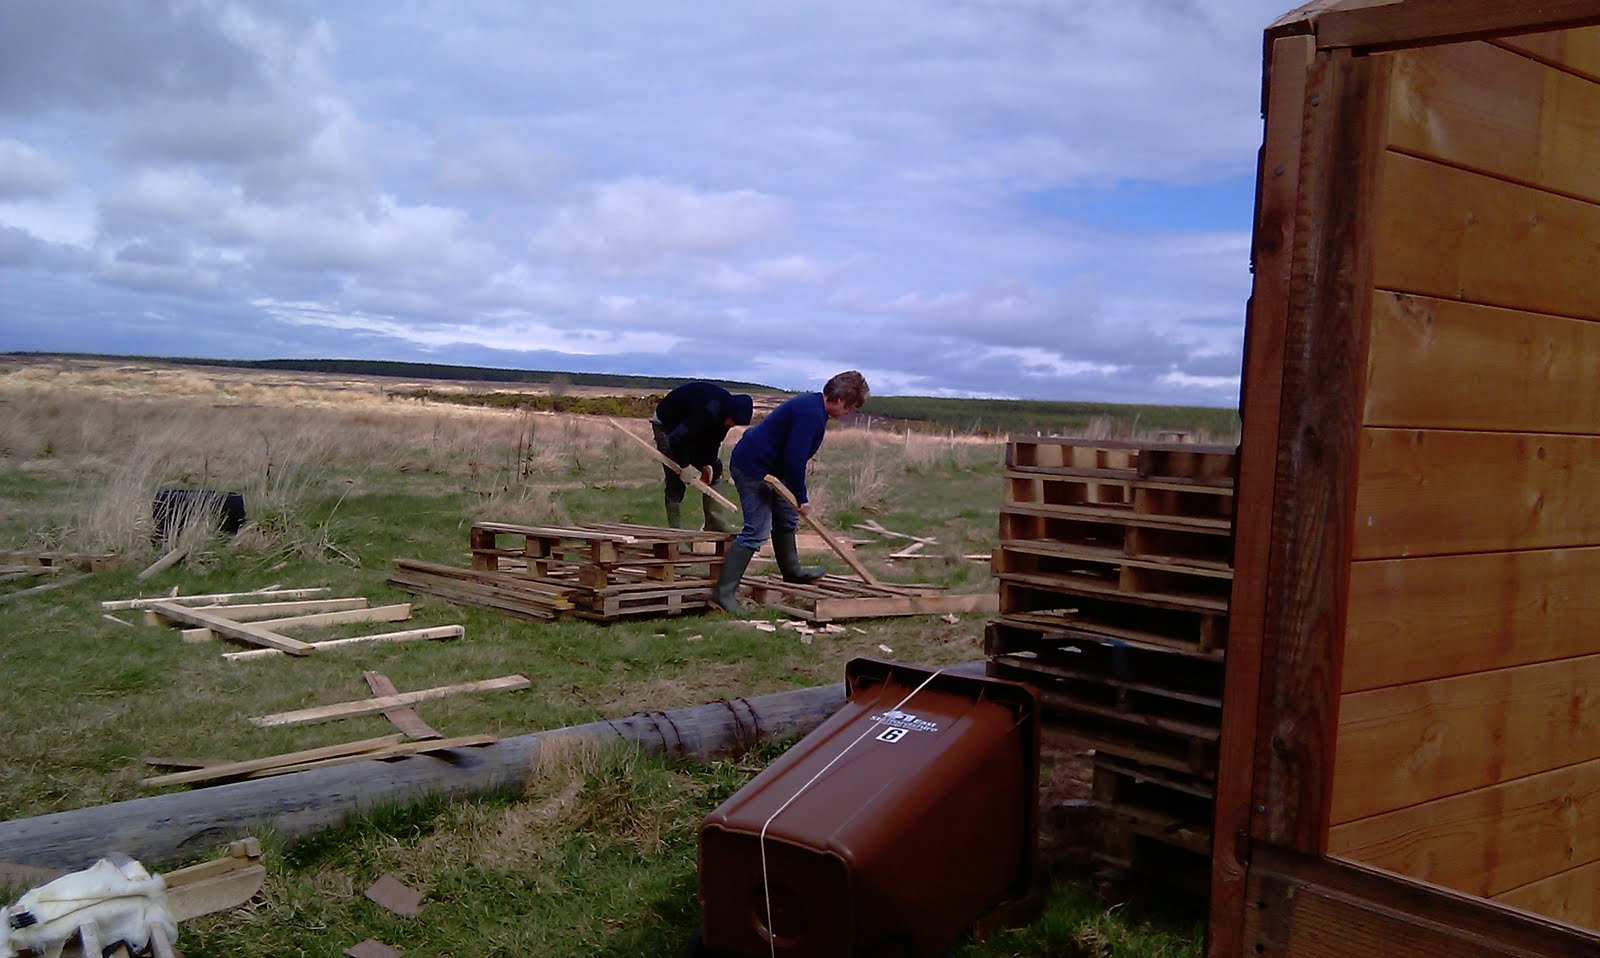
I am sure you can guess by now that we are taking pallets apart, yet again. Matt (helpX) and Ann (host) are "harvesting" the top and bottom timber for the roof panels.
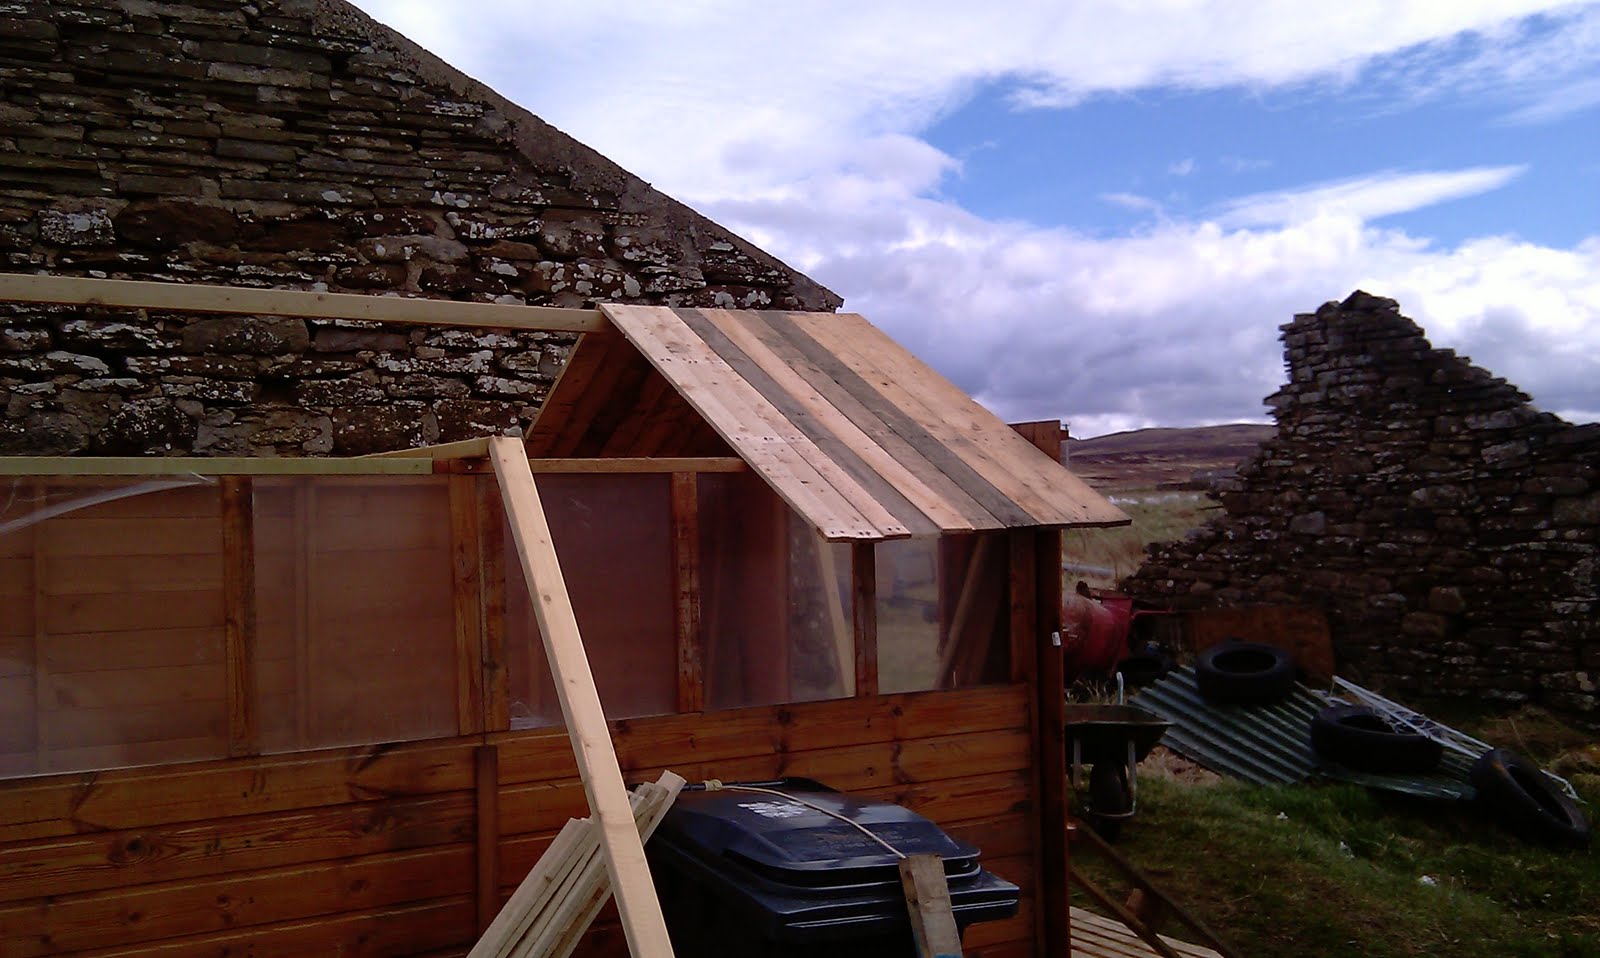
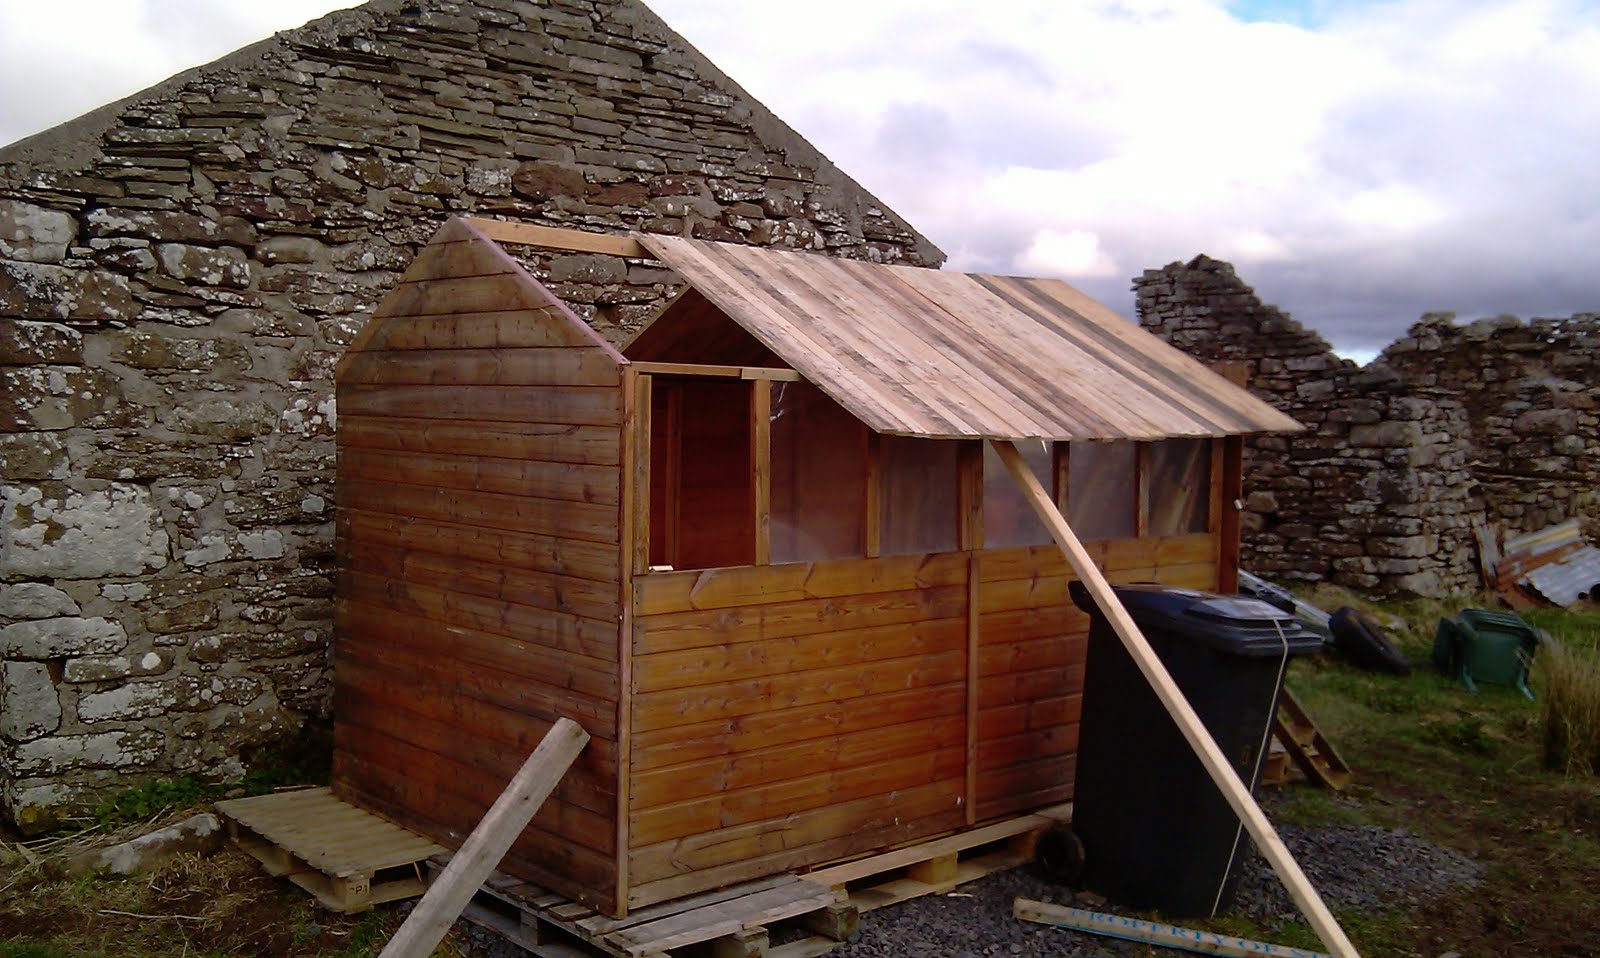
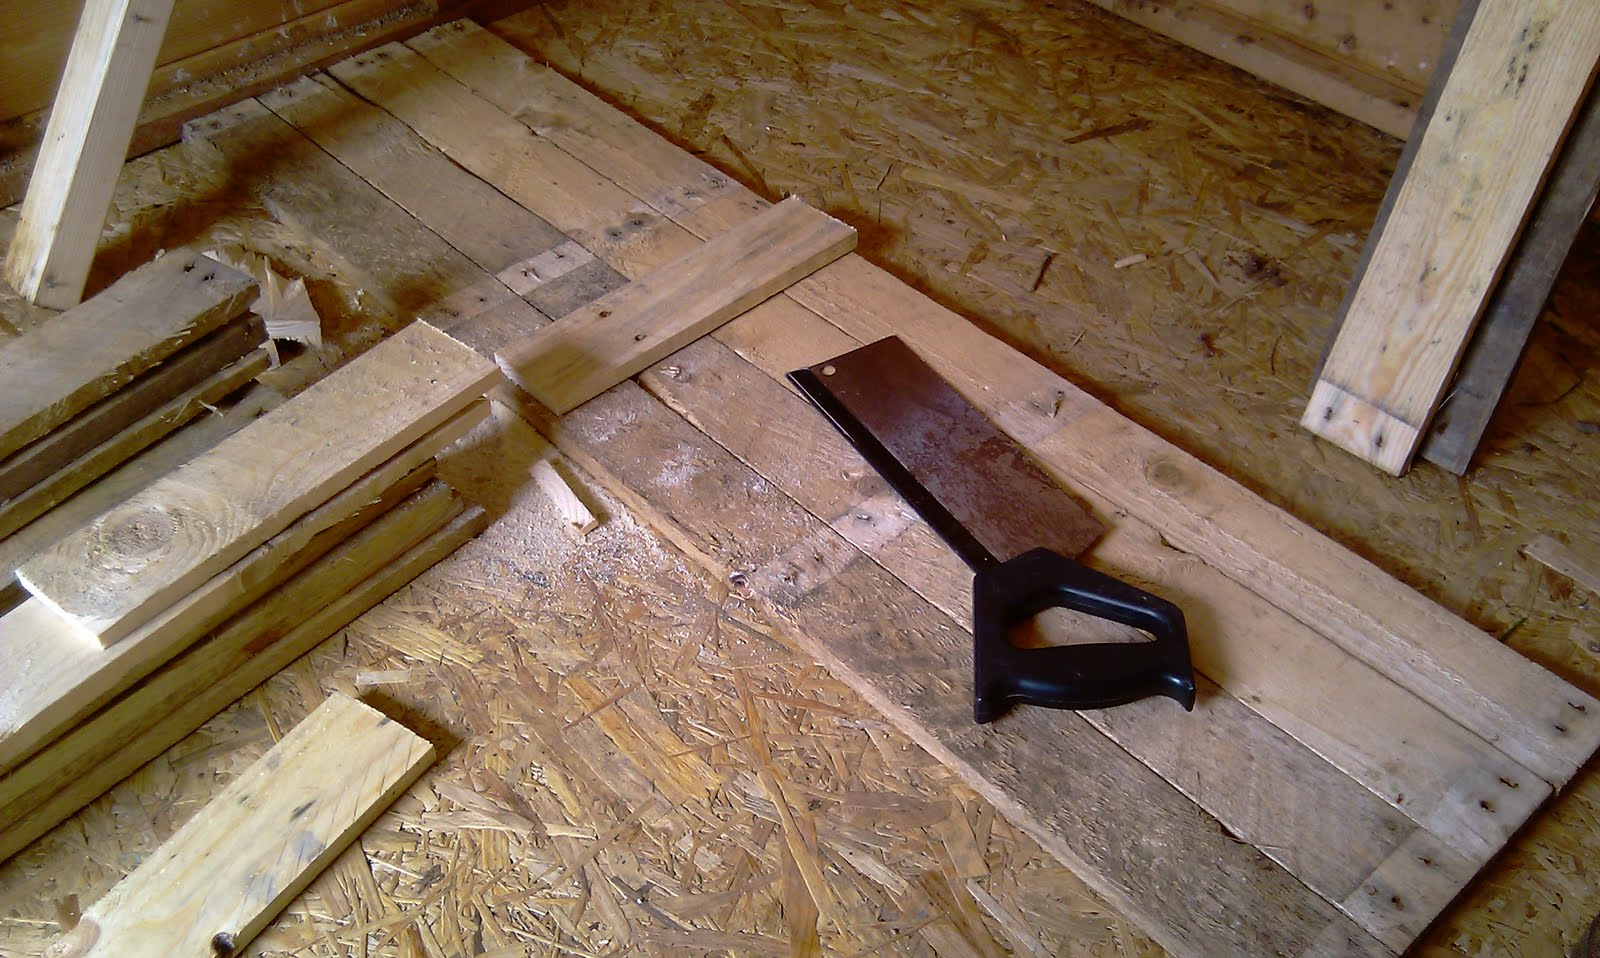
The pallet timber is cut to length and then screwed into place. The original roof panels got damaged and wet, so we decided on a pallet roof instead.
A nice overhang will protect the shed from weathering and increase the roof area.
Getting there... just a few more boards and the roof is as good as new.
Many pallets later the roof is done. Now it needs waterproofing. We will do that with traditional felt. It would be nice to use wood shingles, but there is just not enough time in a day to make a shingle roof for a shed right now. Maybe one day...
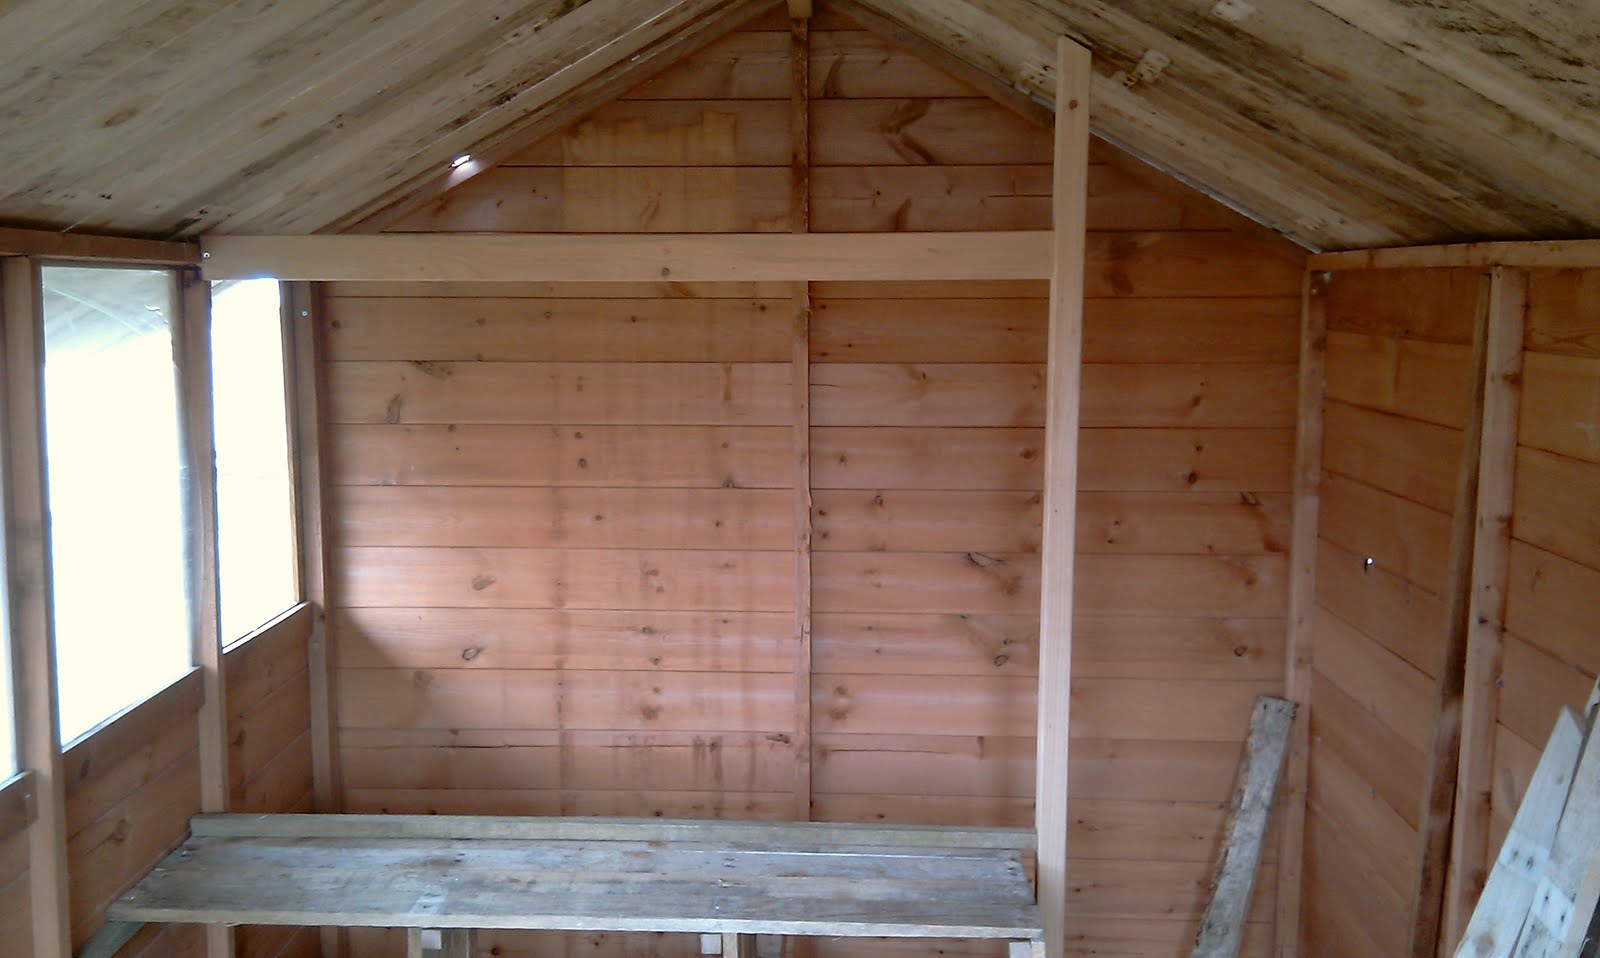
The roof on the inside. Looks cosy. It certainly gave the shed a new lease of life. It's sturdier than it ever was.
Next I decided to convert a small part of the shed for the laying hens. The last hen house didn't get any egg laying boxes, so this time I am building them first.
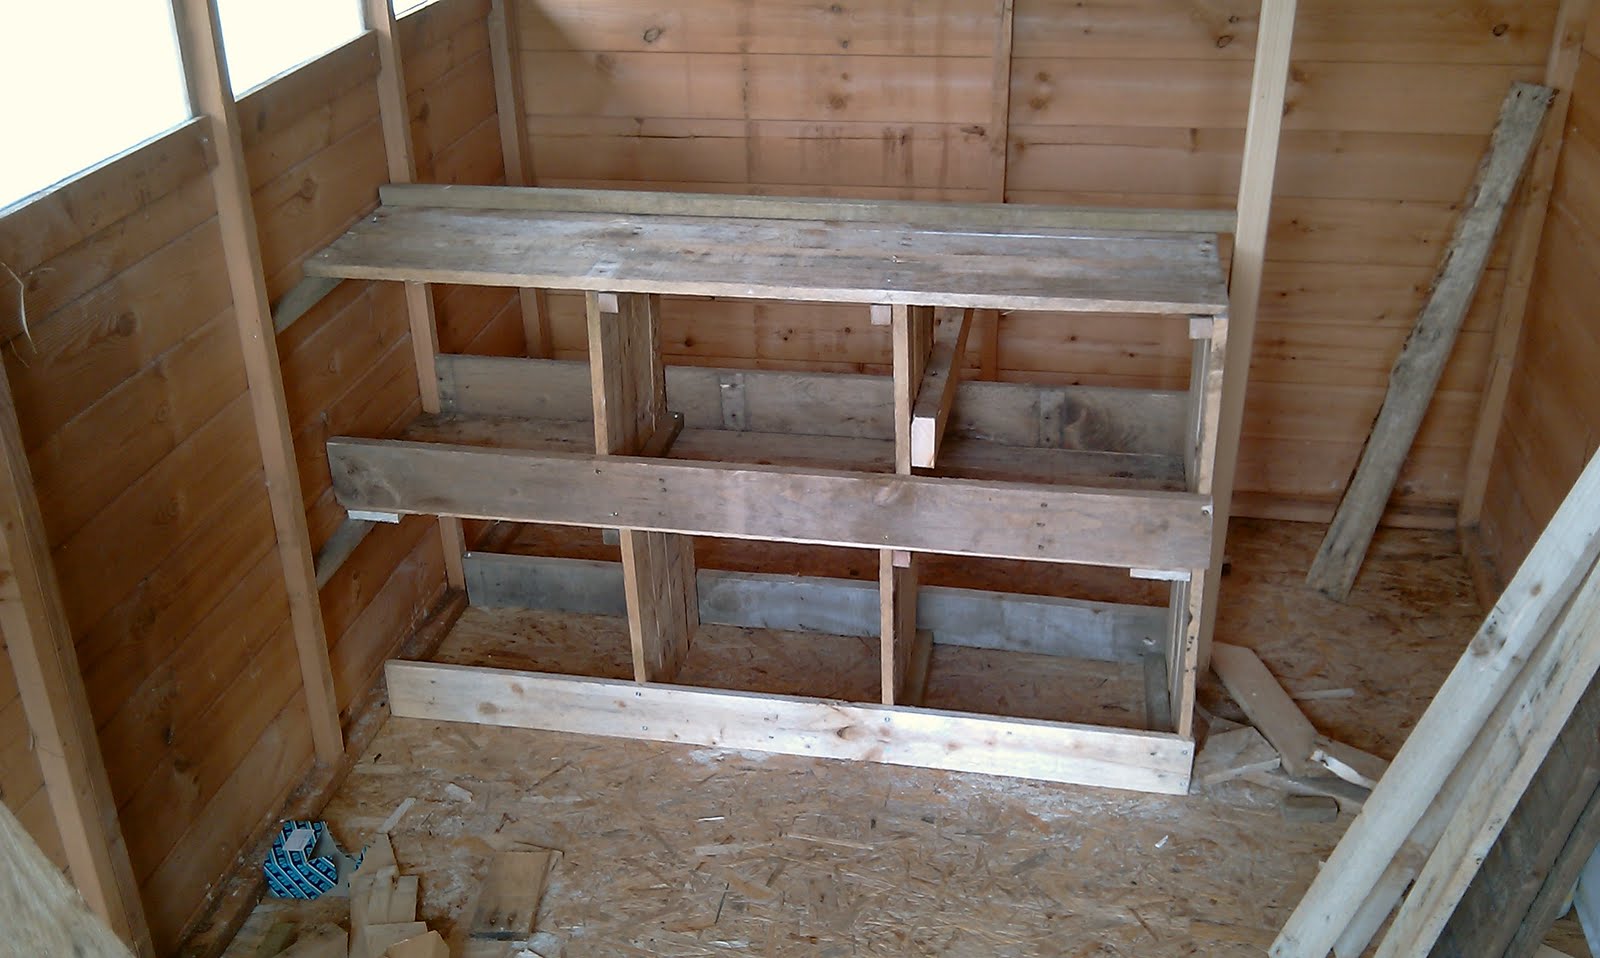
First a looks a bit like a shelf.
Then it looks like a fancy book shelf.
Then it finally starts looking like egg laying boxes.
Should be making doors for the egg laying boxes but my knees are sore, so giving the wall some attention. Wall ? Which wall ?
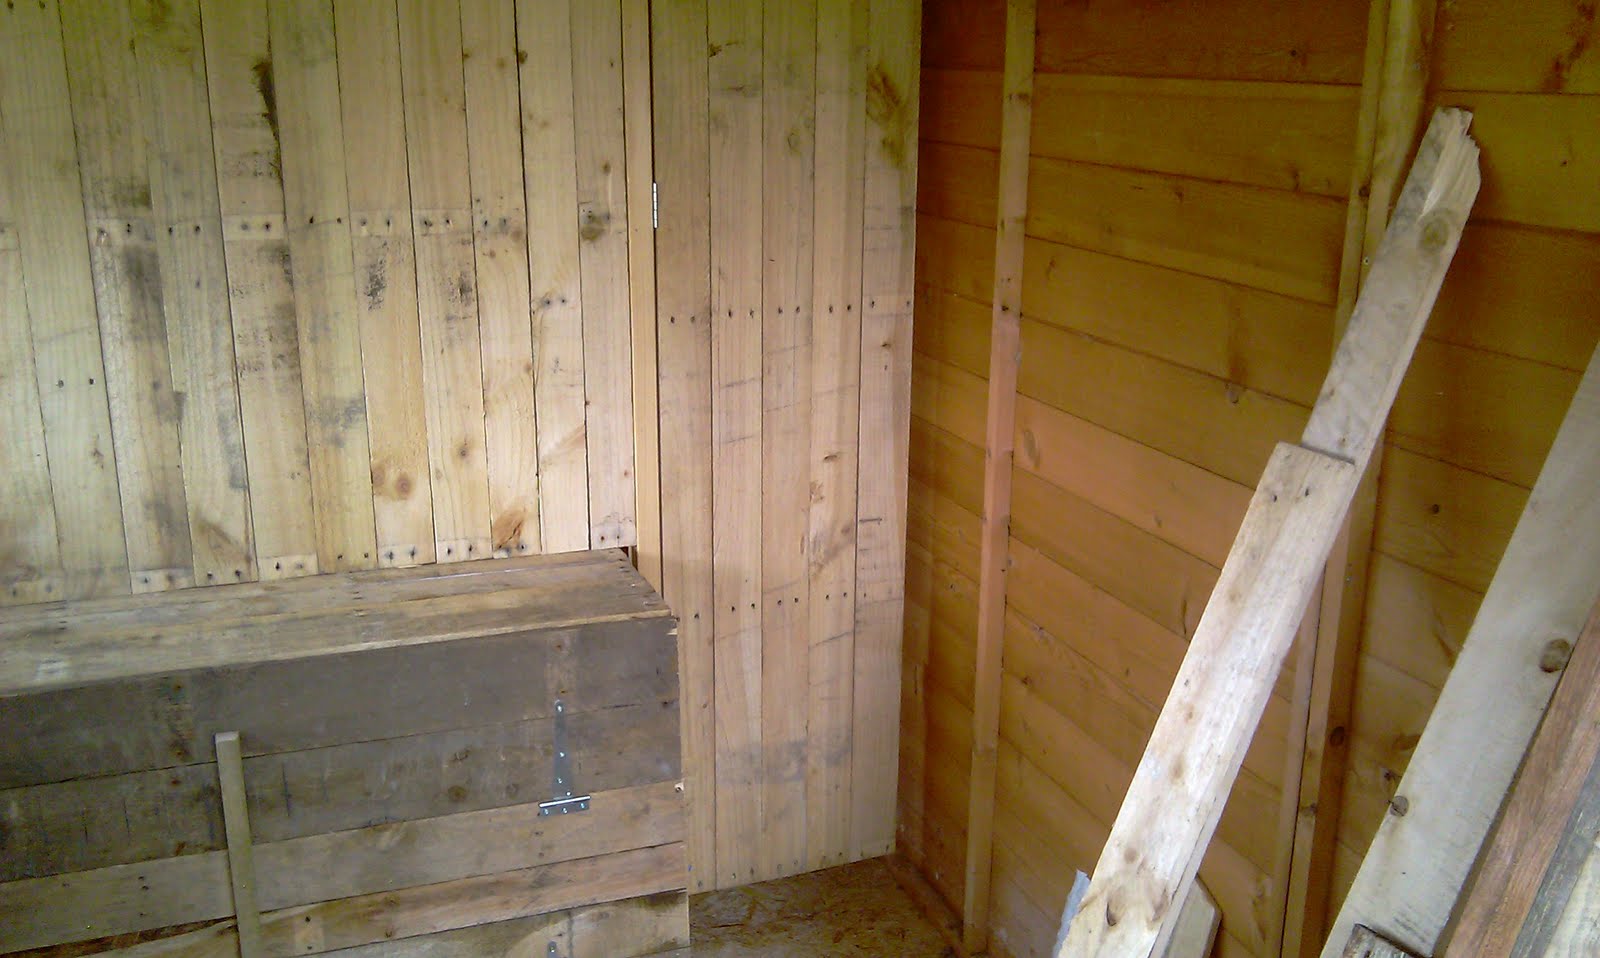
The pallet timber wall of course. And the door, so that I can enter the chicken coop and clean out.
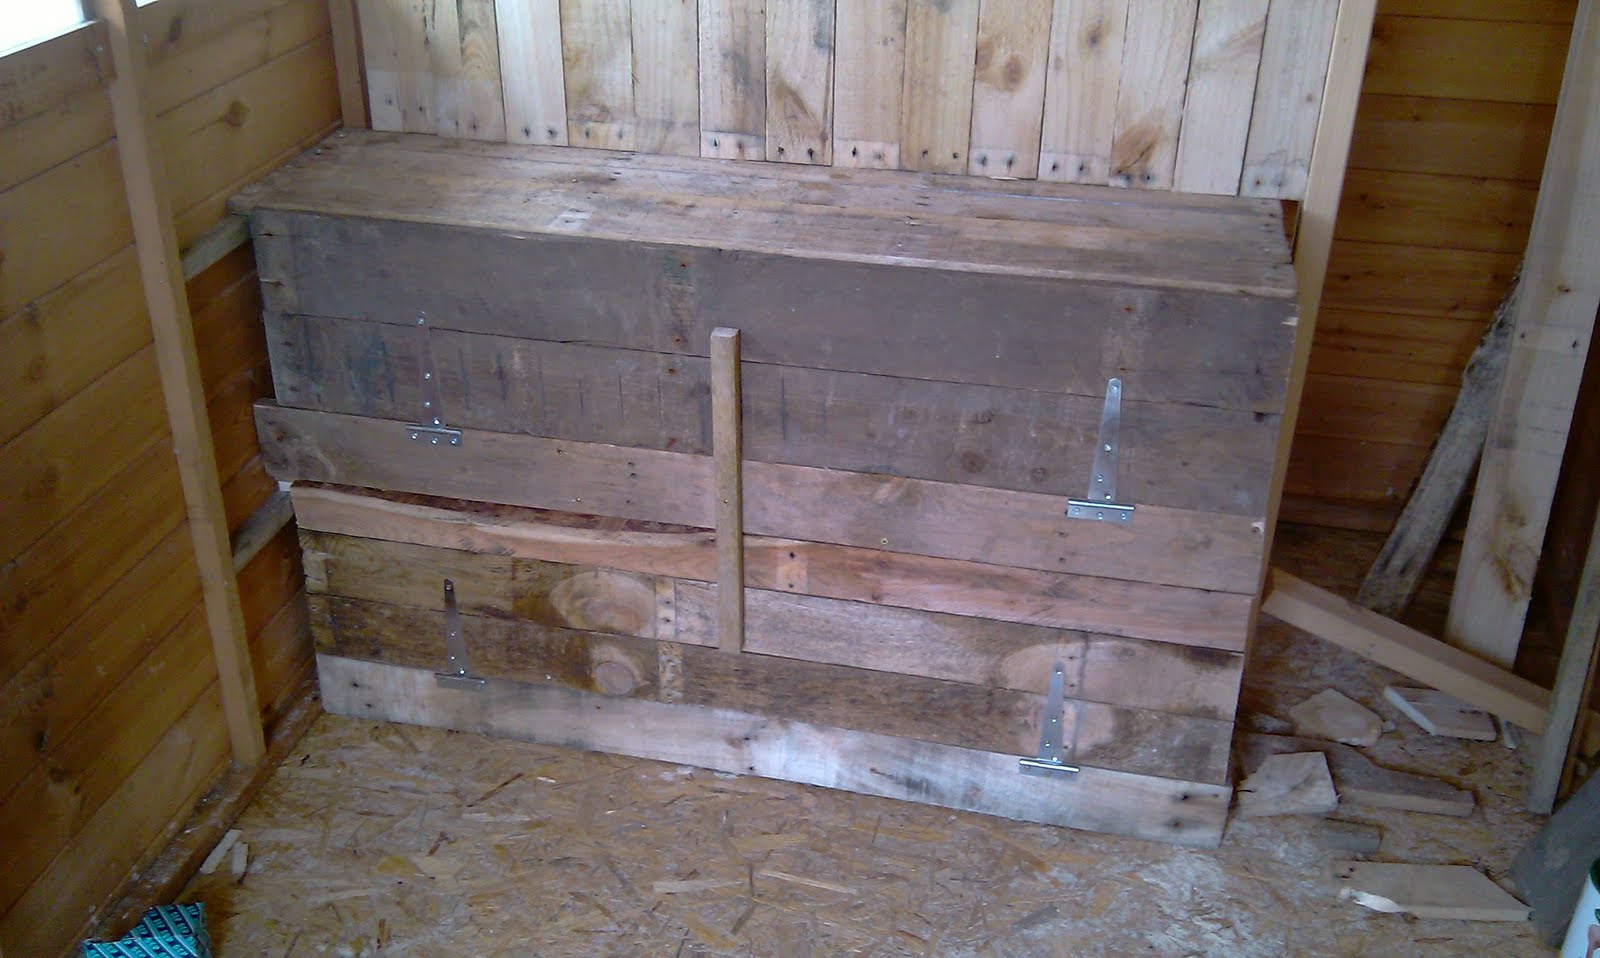
And as by magic the doors for the egg laying boxes have also appeared... but the door has disappeared. Oh, I am getting tired....
Can't wait to get nice clean eggs once again.
I even get my very own door to access the inside of the coop.
Just need to add perches now and make an automatic door. Well, tomorrow is another day.
Matt (HelpX) and Vicki (family) are preparing a gravel foundation for the base.
Chris (family) is bringing gravel with a trailer and quad from the front of the drive, whenever he manages to draw his attention away from his sweaty feet.
Ann (host) is supervising. Somebody has to stand around and look important.
No, it's not level...hang on, it's not on the gravel...that might be why it's not level.
I think we will put it here. Then it may be level.

After a lot more raking and measuring the six pallets for the base are placed on the gravel and the floor of the shed is screwed into place.
As the first wall piece is going up the lovely Caithness weather turns and it starts to get windy.
Matt is playing peek-a-boo but Arden is not impressed.
The winds is rattling the panels and windows about. After a few improvements to the windows there isn't anything else we can do. Lifting roof panels in 50mph gusts is a fairly impossible and rather dangerous undertaking.
After bracing all the walls and the side we have to abandon the job until the weather improves.

It's been a week since we put the shed walls up and the weather has been fine. Today it's windy again but we have decided to work on the shed anyway.
We have added a new cross beam to rest the roof on. It's stronger than the original one which got lost in transit...
I am sure you can guess by now that we are taking pallets apart, yet again. Matt (helpX) and Ann (host) are "harvesting" the top and bottom timber for the roof panels.
The pallet timber is cut to length and then screwed into place. The original roof panels got damaged and wet, so we decided on a pallet roof instead.
A nice overhang will protect the shed from weathering and increase the roof area.
Getting there... just a few more boards and the roof is as good as new.
Many pallets later the roof is done. Now it needs waterproofing. We will do that with traditional felt. It would be nice to use wood shingles, but there is just not enough time in a day to make a shingle roof for a shed right now. Maybe one day...
The roof on the inside. Looks cosy. It certainly gave the shed a new lease of life. It's sturdier than it ever was.
Next I decided to convert a small part of the shed for the laying hens. The last hen house didn't get any egg laying boxes, so this time I am building them first.
First a looks a bit like a shelf.
Then it looks like a fancy book shelf.
Then it finally starts looking like egg laying boxes.
Should be making doors for the egg laying boxes but my knees are sore, so giving the wall some attention. Wall ? Which wall ?
The pallet timber wall of course. And the door, so that I can enter the chicken coop and clean out.
And as by magic the doors for the egg laying boxes have also appeared... but the door has disappeared. Oh, I am getting tired....
Can't wait to get nice clean eggs once again.
I even get my very own door to access the inside of the coop.
Just need to add perches now and make an automatic door. Well, tomorrow is another day.
Subscribe to:
Posts (Atom)